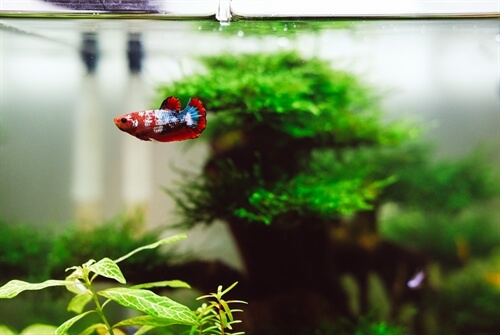
Moving house with an aquarium and aquatic pets can be a challenging task, but it is not impossible if you follow some simple steps. Here is how to move an aquarium safely and smoothly:
If you are a fish lover and have an aquarium at home, you might be wondering how to move it when you relocate to a new house. Moving an aquarium is not as easy as moving other furniture or appliances, because you have to consider the well-being of your aquatic pets and plants. You also have to deal with water, filters, heaters, pumps and other equipment that can be fragile and heavy.
Many fish enthusiasts, particularly those planning an international move, opt to use the services of a dedicated animal courier, such as PBS, which has the equipment and expertise needed to relocate aquatic pets.
However, moving a smaller aquarium is achievable by yourself if you plan ahead. In this blogpost, we will share with you how to move an aquarium in 7 steps.
Step 1: Prepare to move your tropical fish
The first step is to prepare for the move by gathering all the equipment and materials you will need to relocate your aquarium and fish. You will need:
- large, lidded buckets
- plastic bags
- cooler bags large enough to hold your lidded buckets
- siphon hose
- net
- towels
- bubble wrap, newspaper and packing paper
- tape
- cardboard boxes or crates
At this stage, it would also be a good idea to consider where you are going to place your aquarium in your new home. You will need fresh dechlorinated water to refill your tank and you will need to prepare this ahead of time.
Fish tanks and aquaria can be weighty, so familiarise yourself with the principles of safe lifting as described in our post and consider whether you need to get help from professional movers, or a few trusty friends.
Step 2: Remove your fish and plants from the tank
On the day of your move, the first step is to remove your fish and plants from the aquarium. Use a net to catch your fish one by one and place them in plastic bags filled with water from the tank. Secure each bag and put them in a bucket or container with a lid. Do not overcrowd the bags or containers.
For your plants, you can either transport them in buckets with enough water to cover them or package them in plastic bags with some water as you did for the fish.
Then it’s time to remove the decorations from your tank and package them. Finally, bring out the sand and gravel and pack it in a lidded bucket.
Step 3: Drain and pack your tank
The third step is to drain and pack your tank. Use a siphon hose to remove about 70% of the water from the tank. Save as much of this water as you can in buckets or containers as you will want it to refill your aquarium. Turn off and unplug filters, heaters and pumps etc and remove them from the tank. Clean them thoroughly and dry them with towels.
Wrap each piece of equipment with bubble wrap and tape it securely. They can be packed into cardboard boxes or crates, which should be labelled.
For your tank itself, wipe it dry and wrap it with bubble wrap as well. If possible, use its original packaging box. If not, use another sturdy cardboard box that fits snugly and pad the tank with newspaper. Remember to label it clearly so your movers know it needs special care.
Step 4: Transport your aquarium
The fourth step is to transport your aquarium carefully. Place your fish containers in a cooler bag or box to keep them at a stable temperature during transit. Avoid exposing them to direct sunlight or extreme temperatures. If the weather is very hot or very cold, you may need to postpone your move.
Place your plant containers in another cooler bag to help them maintain their temperature, or insulate them with towels or newspaper.
When loading your vehicle with your aquarium, secure your boxes, crates and cool bags to ensure they stay upright and do not slide around in transit. Drive carefully to avoid sudden stops or bumps that could damage your aquarium items.
Step 5: Set up your new tank
The fifth step is to set up your new tank as soon as possible after arriving at your new house to minimise the amount of time your fish spend in their containers. Unpack everything carefully and inspect for damage.
Use some of the old water saved from your aquarium made up with fresh dechlorinated water at room temperature. You may have to wait a couple of hours before turning on the pump to allow particles to settle.
And then you can add your fish and aquatic pets, taking care to acclimatise them to the new water temperature before introducing them to the tank.


